Introduction:
The Bot Framework enables you to build bots that support different types of interactions with users. You can design conversations in your bot to be freeform . Your bot can also have more guided interactions where it provides the user choices or actions. The conversation can use simple text strings or more complex rich cards that contain text, images, and action buttons. And you can add natural language interactions, which let your users interact with your bots in a natural and expressive way.
Bot Builder SDK introduced Form Flow, it will automatically generate the dialogs conversation based on your property and type that a specified on a class. Bot Dialog also its more powerful but handling a conversation like a registration, ordering, its required more effort to complete process using bot dialog.
In this article will help you to understand how to use Bot Form Flow and how you can use them to collect information from the users. We are creating sample Demo Bot for Bus booking bot.
Prerequisite:
I have explained about Bot framework Installation, deployment and implementation in the below article- Getting Started with
Chatbot Using Azure Bot Service - Getting Started with Bots Using Visual Studio 2017
- Deploying A Bot to Azure Using Visual Studio 2017
- How to Create ChatBot In Xamarin
- Getting Started with Dialog Using Microsoft Bot Framework
- Getting Started with Prompt Dialog Using Microsoft Bot Framework
Create New Bot Service:
Let’s create a new bot service application using Visual Studio 2017. Open Visual Studio > Select File on menu > Create New Project (Ctrl + Shift +N) > Select Bot application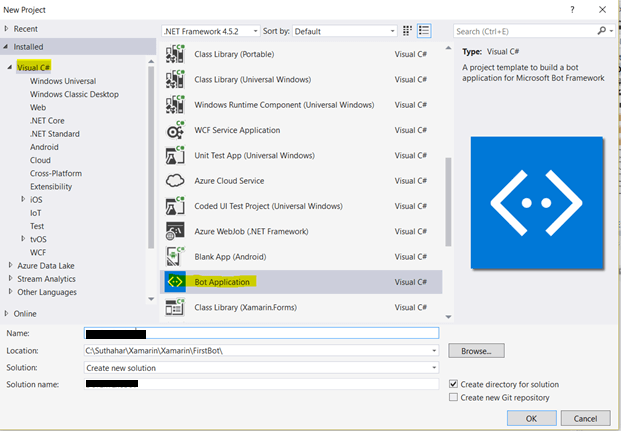
The Bot application template was created with all the components and all required NuGet references installed in the solutions and add new class for BusFormFlow to the project.
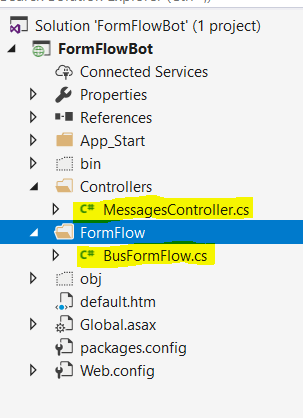
In this Solution, we have two main class MessagesController.cs and BusFormFlow class. Let us start discussing here.
Create New FormFlow Class:
We can start create a class that represents our form and create properties for each field. Form fields can be one of the following types- Enum
- List of Enum
- Integral – sbyte, byte, short, ushort, int, uint, long, ulong
- Floating point – float, double
- String
- DateTime
- FormFlow will automatically validate type based on user input and reply the validation message.
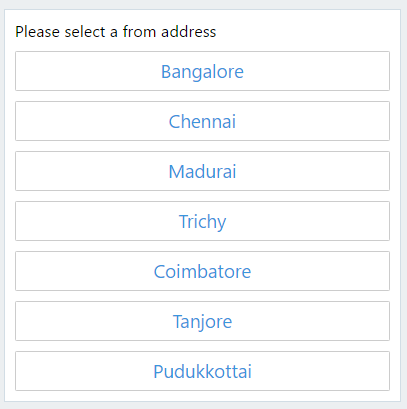
Create a new enum field for Bus start from.
/// </// From City Enum
/// </
public enum FromCity
{
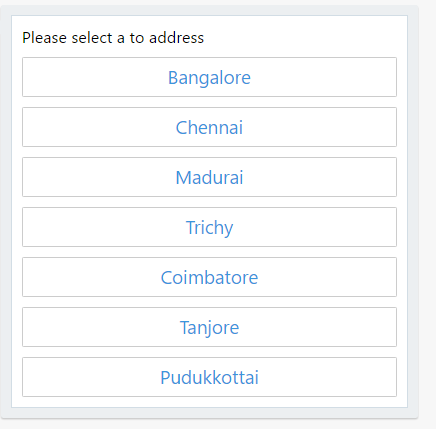
Bangalore,Chennai,Madurai,Trichy,Coimbatore,Tanjore,pudukkottai
}
The bot output look like below
Create a new enum field for Bus end point.
/// </// To City Enum
/// </
public enum ToCity
{
Bangalore, Chennai, Madurai, Trichy, Coimbatore, Tanjore, Pudukkottai
}
The bot output look like below
Create a new enum for Bus type
/// </// Bus Type Enum
/// </
public enum BusType
{
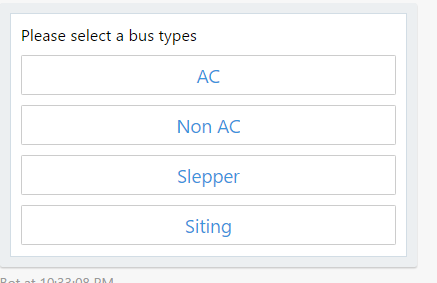
AC, NonAC,Slepper, Siting
}
The output look like below
Create a new enum for gender
/// </// Gender
/// </
public enum Gender
{
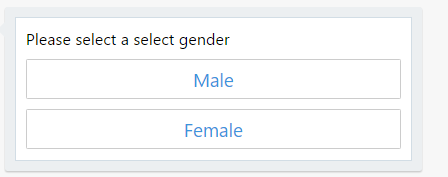
Male,Female
}
The output look like below
create a class for FormFlow with the [Serializable] attribute and create build Form method for show form flow
using Microsoft.Bot.Builder.FormFlow;
namespace FormFlowBot.FormFlow
{
[Serializable]
public class BusFormFlow
{
/// <summary >
/// List of Form Flow
/// </summary >
{
/// <
/// List of Form Flow
/// </
public FromCity? FromAddress;
public ToCity? ToAddress;
public DateTime? StartDate;
public BusType? BusTypes;
public Gender? SelectGender;
public string Name;
public int Age;
/// <summary >
/// Build Form
/// </summary >
/// <returns ></returns>
public static IForm<BusFormFlow> BuildForm()
{
return new FormBuilder<BusFormFlow>()
.Message("Welcome to the BotChat Bus Booking !")
.OnCompletion(async (context, profileForm) =>
{
string message = "Your Bus booking Successfully Completed .You will get confirmation email and SMS .Thanks for using Chat Bot Bus Booking , Welcome Again !!! :)";
await context.PostAsync(message);
})
.Build();
}
}
}
public ToCity? ToAddress;
public DateTime? StartDate;
public BusType? BusTypes;
public Gender? SelectGender;
public string Name;
public int Age;
/// <
/// Build Form
/// </
/// <
public static IForm<BusFormFlow> BuildForm()
{
return new FormBuilder<BusFormFlow>()
.Message("Welcome to the BotChat Bus Booking !")
.OnCompletion(async (context, profileForm) =>
{
string message = "Your Bus booking Successfully Completed .You will get confirmation email and SMS .Thanks for using Chat Bot Bus Booking , Welcome Again !!! :)";
await context.PostAsync(message);
})
.Build();
}
}
}
Calling Form Flow :
The Messagescontroller class added in the solution and add the following MakeRootDialog from a Messagescontroller classinternal static IDialog<BusFormFlow> MakeRootDialog()
{
return Chain.From(() => FormDialog.FromForm(BusFormFlow.BuildForm));
}
Call MakeRootDialog from post method in MessagesController calss
/// <
/// POST: api/Messages
/// Receive a message from a user and reply to it
/// </
public async Task<HttpResponseMessage> Post([FromBody]Activity activity)
{
if (activity.Type == ActivityTypes.Message)
{
await Conversation.SendAsync(activity, MakeRootDialog);
}
else
{
HandleSystemMessage(activity);
}
var response = Request.CreateResponse(HttpStatusCode.OK);
return response;
}
Run Bot Application:
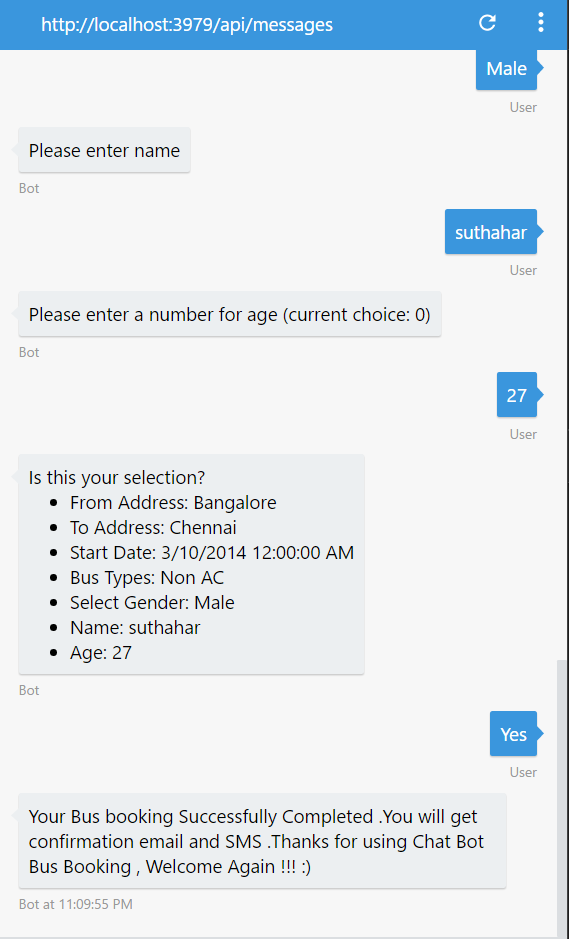
The emulator is a desktop application that lets we test and debug our bot on localhost. Now, you can click on "Run the application" in Visual studio and execute in the browser.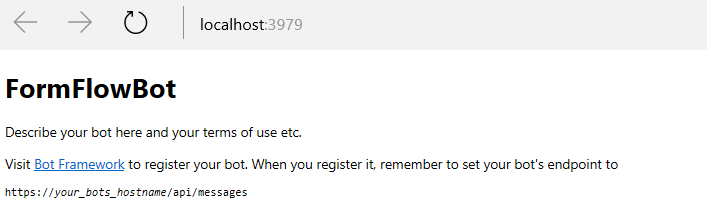
- Test Application on Bot Emulator
- You can follow the below steps for test your bot application.
- Open Bot Emulator.
- Copy the above localhost url and paste it in emulator e.g. - http://localHost:3979
- You can append the /api/messages in the above url; e.g. - http://localHost:3979/api/messages.
- You won't need to specify Microsoft App ID and Microsoft App Password for localhost testing, so click on "Connect".
No comments: