
- /About me
- /Helping Hand
- /Contact
-
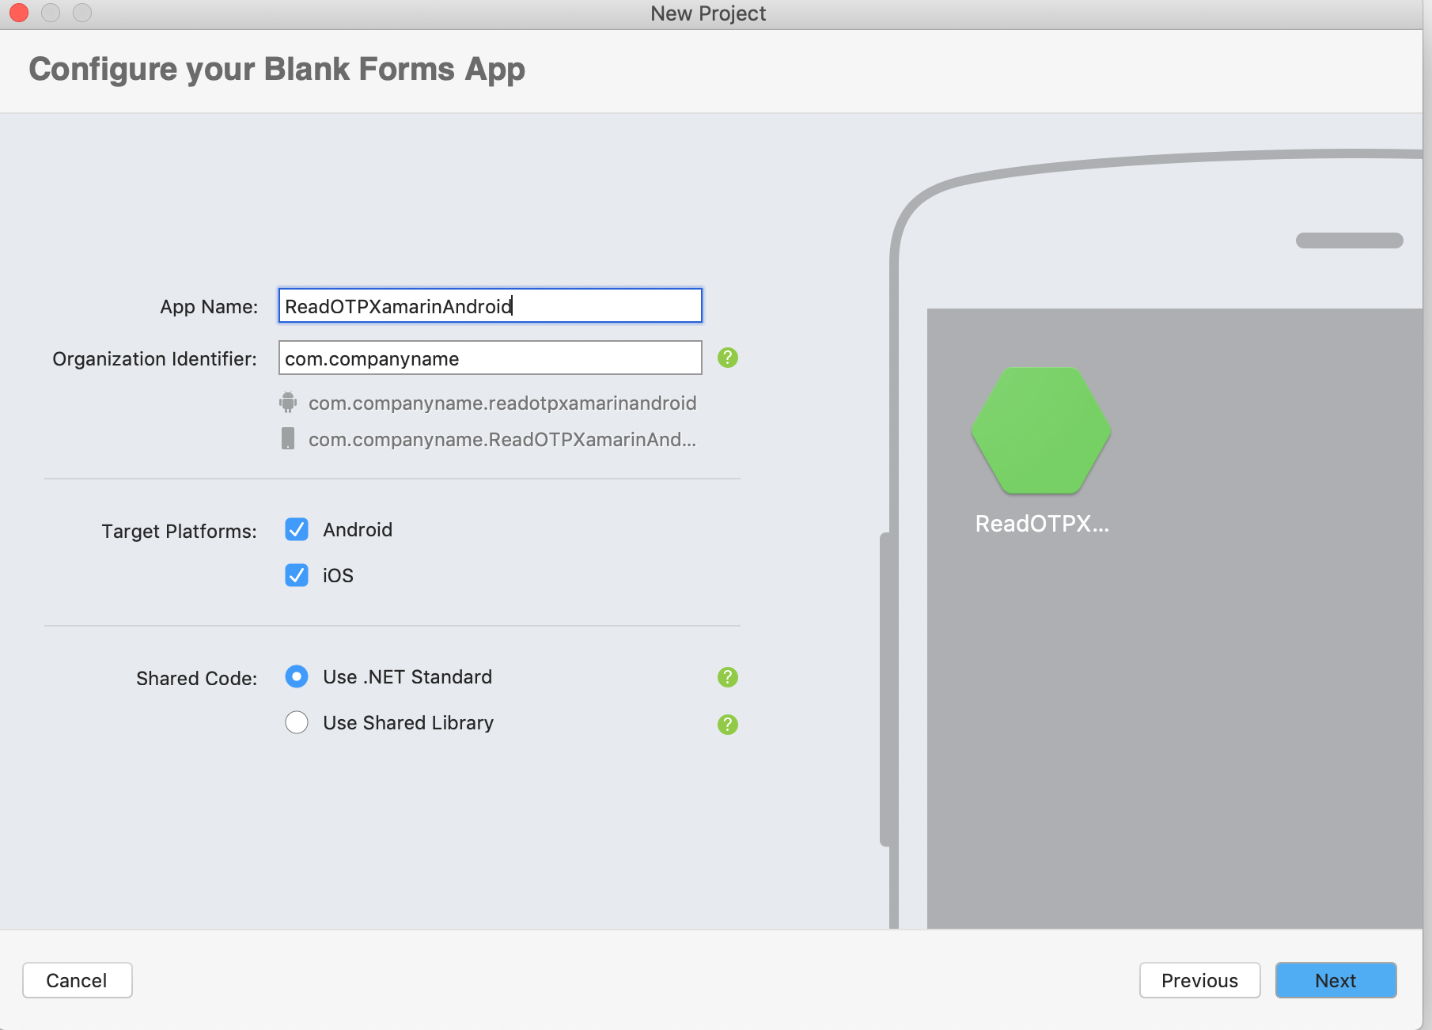
MSDEVBUILD - Community of Microsoft AI, Azure and Xamarin by Suthahar - Solution Architect for Microsoft AI, Azure, Xamarin | Tech Author and Speaker


<?xml version="1.0" encoding="utf-8"?>
<ContentPage xmlns="http://xamarin.com/schemas/2014/forms" xmlns:x="http://schemas.microsoft.com/winfx/2009/xaml" xmlns:local="clr-namespace:ReadOTPXamarinAndroid" x:Class="ReadOTPXamarinAndroid.MainPage">
<StackLayout Padding="15" HorizontalOptions="CenterAndExpand" VerticalOptions="CenterAndExpand" BackgroundColor="White">
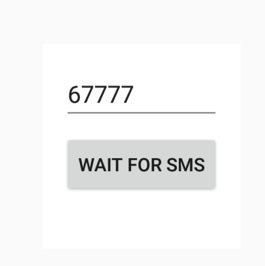
<Entry PlaceholderColor="Black" Placeholder="Enter OTP" x:Name="smSEntry"></Entry>
<Button Text="Wait for sms" Clicked="ImageButton_OnClicked"></Button>
</StackLayout>
</ContentPage>
|
using Xamarin.Forms;
namespace ReadOTPXamarinAndroid
{
public static class CommonServices
public static void ListenToSmsRetriever()
DependencyService.Get<IListenToSmsRetriever>()?.ListenToSmsRetriever();
public interface IListenToSmsRetriever
void ListenToSmsRetriever();
}
|
using System;
using System.Collections.Generic;
using System.Text;
using Xamarin.Forms;
namespace ReadOTPXamarinAndroid
{
public static class Utilities
private static readonly object cc = new object();
public static void Subscribe<TArgs>(this object subscriber, Events eventSubscribed, Action<TArgs> callBack)
MessagingCenter.Subscribe(subscriber, eventSubscribed.ToString(), new Action<object, TArgs>((e, a) => { callBack(a); }));
public static void Notify<TArgs>(Events eventNotified, TArgs argument)
MessagingCenter.Send(cc, eventNotified.ToString(), argument);
}
|
using System;
namespace ReadOTPXamarinAndroid
{
public enum Events
SmsRecieved,
}
|
using System;
using System.Collections.Generic;
using System.ComponentModel;
using System.Linq;
using System.Text;
using System.Threading.Tasks;
using Xamarin.Forms;
using Xamarin.Forms.Xaml;
namespace ReadOTPXamarinAndroid
{
public partial class MainPage : ContentPage
public MainPage()
InitializeComponent();
this.Subscribe<string>(Events.SmsRecieved, code =>
smSEntry.Text = code;
});
private void ImageButton_OnClicked(object sender, EventArgs e)
CommonServices.ListenToSmsRetriever();
}
|
SmsRetrieverClient client = SmsRetriever.GetClient(Application.Context);
|
var task = client.StartSmsRetriever();
|
using Java.Lang;
using ReadOTPXamarinAndroid.Droid;
using Application = Android.App.Application;
[assembly: Dependency(typeof(ListenToSms))]
namespace ReadOTPXamarinAndroid.Droid
{
public class ListenToSms : IListenToSmsRetriever
public void ListenToSmsRetriever()
SmsRetrieverClient client = SmsRetriever.GetClient(Application.Context);
var task = client.StartSmsRetriever();
task.AddOnSuccessListener(new SuccessListener());
task.AddOnFailureListener(new FailureListener());
private class SuccessListener : Object, IOnSuccessListener
public void OnSuccess(Object result)
private class FailureListener : Object, IOnFailureListener
public void OnFailure(Exception e)
}
|
using System.Linq;
using System.Text.RegularExpressions;
using Android.App;
using Android.Content;
using Android.Gms.Common.Apis;
using Com.Google.Android.Gms.Auth.Api.Phone;
using ReadOTPXamarinAndroid;
namespace ReadOTPXamarinAndroid.Droid
{
[BroadcastReceiver(Enabled = true, Exported = true)]
[IntentFilter(new[] { SmsRetriever.SmsRetrievedAction })]
public class SmsReceiver : BroadcastReceiver
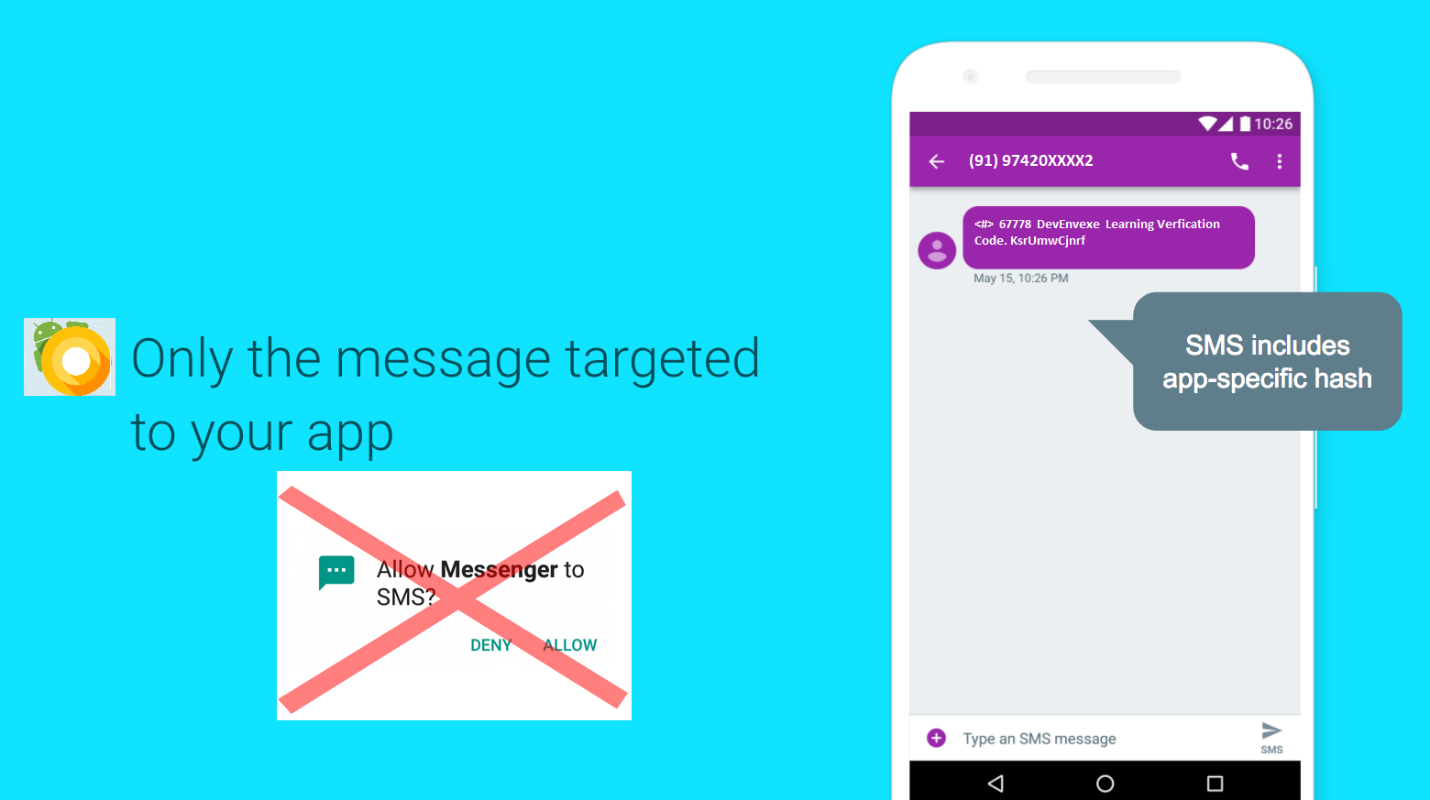
private static readonly string[] OtpMessageBodyKeywordSet = { "DevEnvExe Generated OTP" }; //You must define your own Keywords
public override void OnReceive(Context context, Intent intent)
try
if (intent.Action != SmsRetriever.SmsRetrievedAction) return;
var bundle = intent.Extras;
if (bundle == null) return;
var status = (Statuses)bundle.Get(SmsRetriever.ExtraStatus);
switch (status.StatusCode)
case CommonStatusCodes.Success:
var message = (string)bundle.Get(SmsRetriever.ExtraSmsMessage);
var foundKeyword = OtpMessageBodyKeywordSet.Any(k => message.Contains(k));
if (!foundKeyword) return;
var code = ExtractNumber(message);
Utilities.Notify(Events.SmsRecieved, code);
break;
case CommonStatusCodes.Timeout:
break;
catch (System.Exception)
// ignored
private static string ExtractNumber(string text)
if (string.IsNullOrEmpty(text)) return "";
var number = Regex.Match(text, @"\d+").Value;
return number;
}
|
using System;
using System.Linq;
using System.Text;
using Android.Content;
using Android.Content.PM;
using Android.Util;
using Java.Security;
using Java.Util;
namespace ReadOTPXamarinAndroid.Droid.Helper
{
public class AppHashKeyHelper
private static string HASH_TYPE = "SHA-256";
private static int NUM_HASHED_BYTES = 9;
private static int NUM_BASE64_CHAR = 11;
/// <summary>
/// Retrieve the app signed package signature
/// known as signed keystore file hex string
/// </summary>
/// <param name="context"></param>
/// <returns></returns>
private static string GetPackageSignature(Context context)
PackageManager packageManager = context.PackageManager;
var signatures = packageManager.GetPackageInfo(context.PackageName, PackageInfoFlags.Signatures).Signatures;
return signatures.First().ToCharsString();
/// <summary>
/// Gets the app hash key.
/// </summary>
/// <returns>The app hash key.</returns>
/// <param name="context">Android app Context.</param>
public static string GetAppHashKey(Context context)
string keystoreHexSignature = GetPackageSignature(context);
String appInfo = context.PackageName + " " + keystoreHexSignature;
try
MessageDigest messageDigest = MessageDigest.GetInstance(HASH_TYPE);
messageDigest.Update(Encoding.UTF8.GetBytes(appInfo));
byte[] hashSignature = messageDigest.Digest();
hashSignature = Arrays.CopyOfRange(hashSignature, 0, NUM_HASHED_BYTES);
String base64Hash = Android.Util.Base64.EncodeToString(hashSignature, Base64Flags.NoPadding | Base64Flags.NoWrap);
base64Hash = base64Hash.Substring(0, NUM_BASE64_CHAR);
return base64Hash;
catch (NoSuchAlgorithmException e)
return null;
}
|


