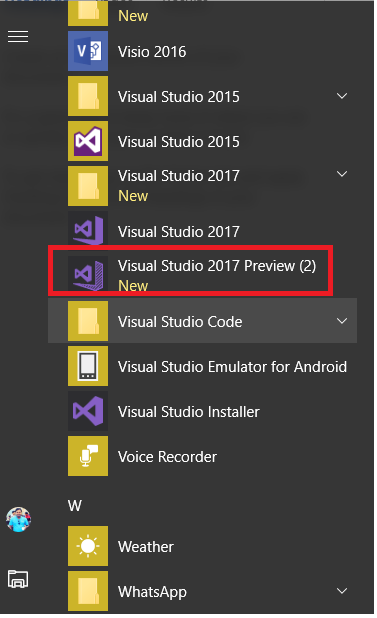
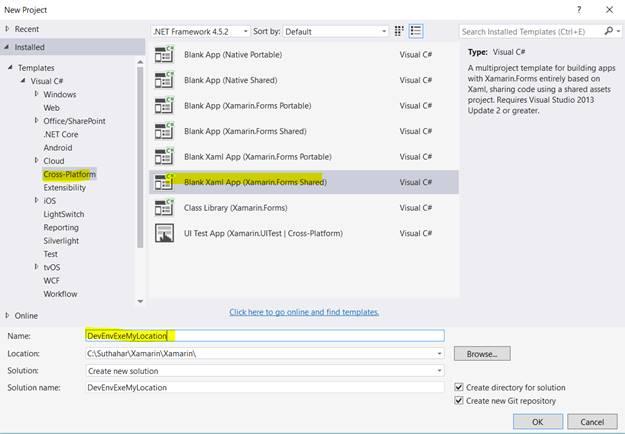
Open Run - Type Devenev
.Exe and enter - New Project (Ctrl+Shift+N) - select Blank Xaml App (Xamarin
.Forms Portable) template.
You can refer my previous article for
create new xamarin forms application from here - http://www.c-sharpcorner.com/article/how-to-create-first-xamarin-form-application/

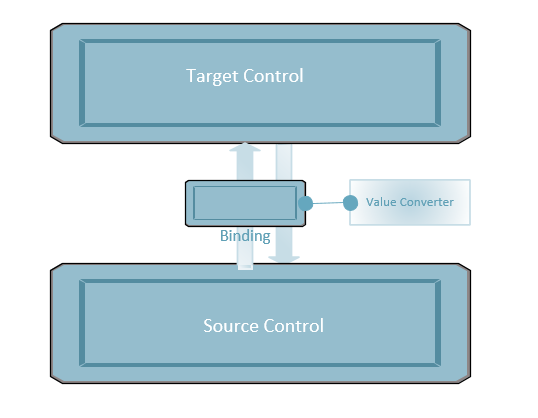
Binding Control to Control using xaml :
Data bindings can be defined to link properties of two Controls on the same page. In this case, you set the BindingContext of the target object using the x: Reference markup extension.
In the following sample added one Entry control and Label control for
print text
<
StackLayout>
<Entry x
:Name ="
txtname"></Entry>
<Label Text="Welcome Mr.." VerticalOptions="Center" HorizontalOptions="Center" />
<Label BindingContext="{x
:Reference Name=
txtname}" Text="{Binding Path=Text}"
VerticalOptions="Center" HorizontalOptions="Center" />
</
StackLayout>
Entry Control Name
: txtname
Label control adding Binding Context and Binding the value.
While
assign binding Context, we can use following two
way
BindingContext="{x
:Reference Name=
txtname} OR BindingContext="{x
:Reference
txtname} // Name attribute is not required
Same like while assign value
to property, we can use following two
way
Text="{Binding Path=Text}" OR Text="{Binding Text}" // Path attribute is not required

Binding Control with String Builder:
All the database data or other srorage data is not formatted data so you Can bind Property with string or any type like below
<Label BindingContext="{x:Reference Name=txtname}" Text="{Binding Path=Text, StringFormat='Welcome Mr {0}'}"/>
<
StackLayout>
<Entry x
:Name ="
txtname"></Entry>
<Label BindingContext="{x:Reference Name=txtname}" Text="{Binding Path=Text, StringFormat='Welcome Mr {0}'}"
VerticalOptions="Center"
HorizontalOptions="Center" />
</
StackLayout>
Binding Control in C#:
You can do it effectively the same way as the XAML example simply by setting your view's BindingContext or Source to the other view.
label.SetBinding(Label.TextProperty, new Binding("<Property Name>", stringFormat: "Welcome Mr {0}", source: <BindingContext Control name>));
or
var label = new Label{ BindingContext = <Control Name> };
label.SetBinding(Label.TextProperty, new Binding("<Property Name>", stringFormat: "Welcome Mr {0}"));
StackLayout layout = new StackLayout
();
var editor = new Editor
();
layout.Children
.Add
(editor);
var label = new Label
();
label.SetBinding(Label.TextProperty, new Binding("Text", stringFormat: "Welcome Mr {0}", source: editor));
layout.Children
.Add
(label);
this.Content = layout;
Binding User Control:
Xamarin Forms doesn’t have a control called a User Control. However, we can make any VisualElement, or combination of Visual Element’s into a reusable control, to use on different pages, just like a User Control.
Create User Control:
Right Click PCL project > Select” Forms XAML View” and click on Add

In xaml and C# file, change content View to any layout control like Grid, Stack layout
In Xaml Page:
<?xml version="1.0" encoding="UTF-8"?>
<Grid xmlns="http://xamarin.com/schemas/2014/forms" xmlns:x="http://schemas.microsoft.com/winfx/2009/xaml" x:Class="MVVMXamarin.MyControl">
<Label Text="{Binding Text, Source={x:Reference this}}" />
</Grid>
In Code behind file, you might want to make your control, have a bindable property to pass data through to it, on each page it is used. First, create a Bindable Property in your UserControl. It doesn’t have to be bindable if you just want to pass a static value through, however if you want to bind to it, you must make it bindable.
using System;
using System.Collections.Generic;
using System.Linq;
using System.Text;
using System.Threading.Tasks;
using Xamarin
.Forms;
namespace MVVMXamarin
{
public partial class MyControl : Grid
{
public MyControl()
{
InitializeComponent();
}
public static readonly BindableProperty TextProperty = BindableProperty.Create(nameof(Text), typeof(string), typeof(MyControl));

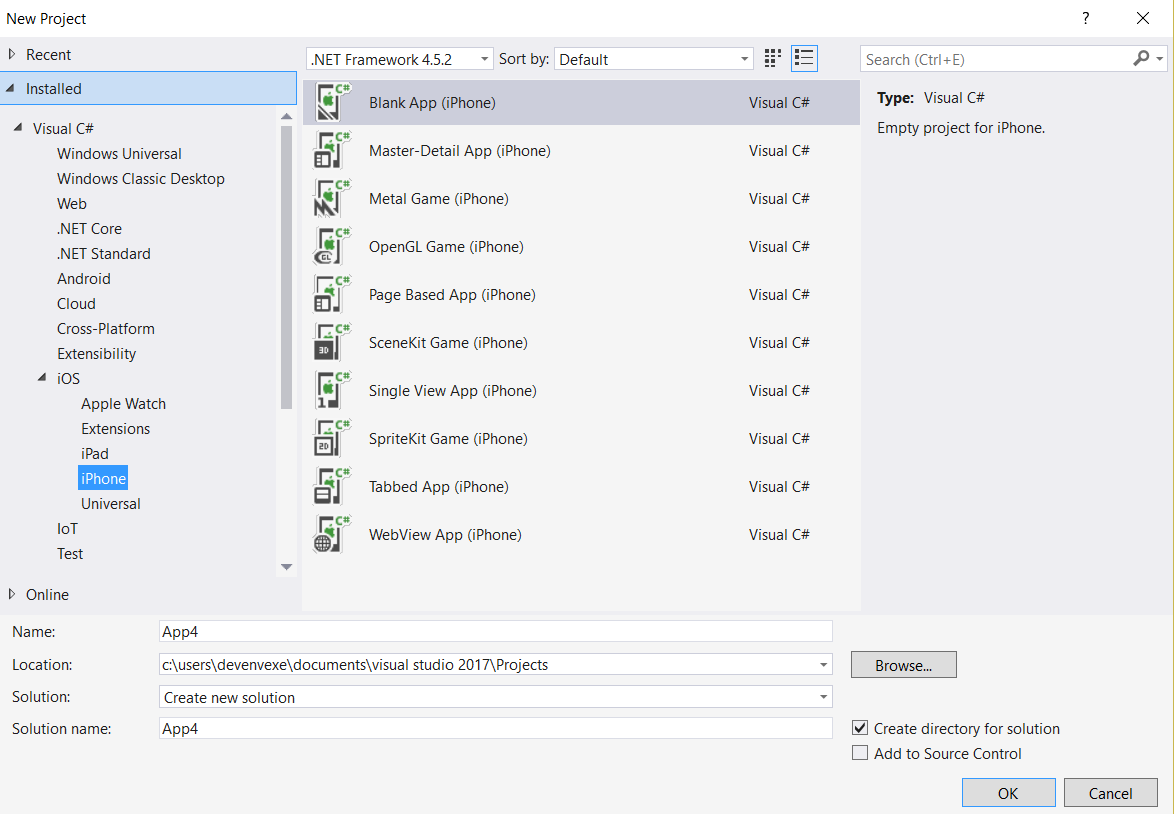


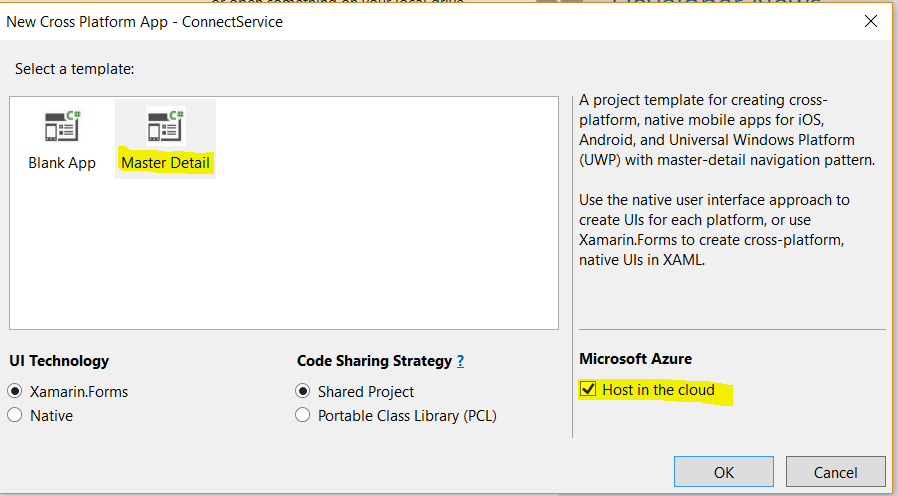
 Create New Xamarin. Forms Application:

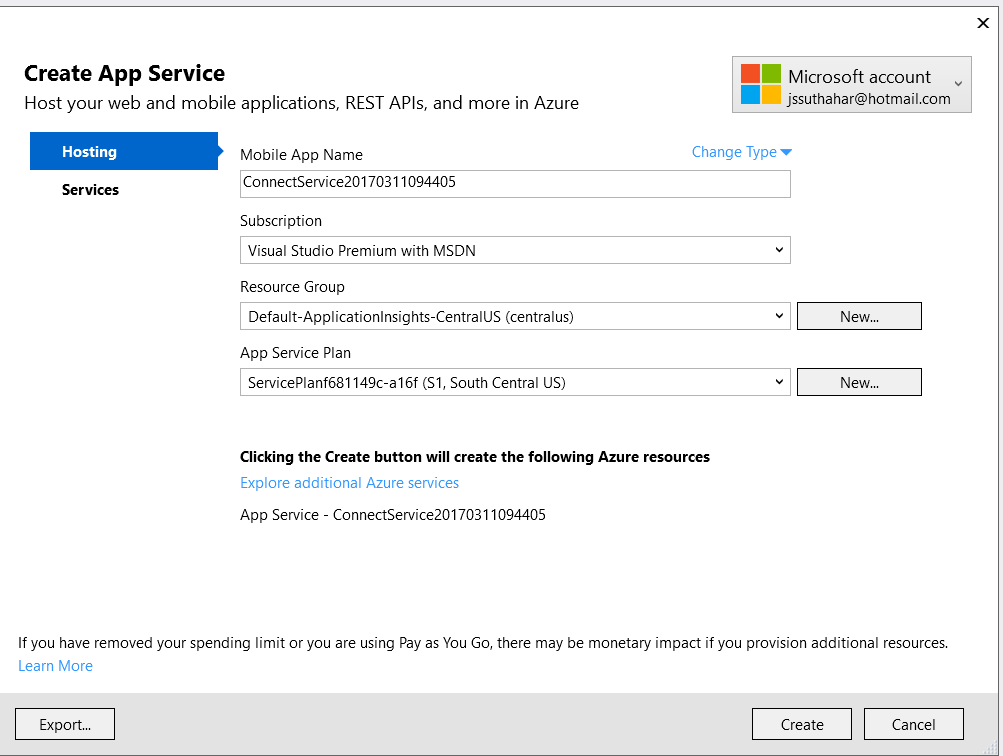

 Step6: