Microsoft offer a different service in the Cloud, Mail, Calendar, Contact, Chat and files from common Microsoft portal and also if you want to integrate to your application, you can access unified API wrapper in the Microsoft graph SDK. In this article you will get understand, how to implement login authentication and Send mail using Microsoft graph API in the Xamarin Forms application
and install Visual 2017 Community Edition or higher.
Download Sample Code: you can download and unzip the source code > open the source code using Visual Studio. in the Sample application have multiple platform support as iOS, Android, UWP. The code sample will introduce you to authentication and send an email from your account.
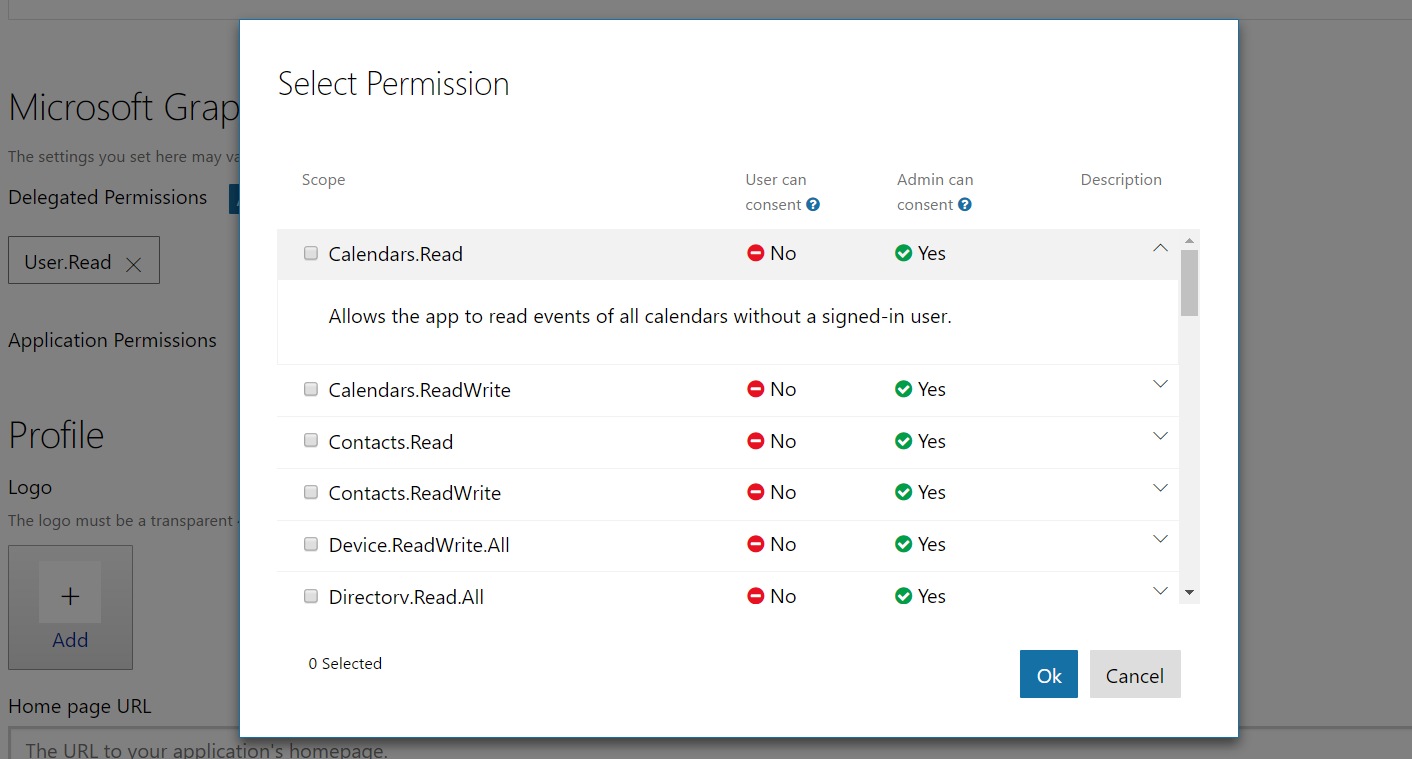
Configure the project: Open the App.cs file from XamarinConnect PCL project > replace your client ID and add the user permission scope.
Configure Send mail: Open the MainHelper.cs from XamarinConnect PCL project > update ComposeAndSendMailAsync method as per your requirement
public async Task ComposeAndSendMailAsync(string subject,string bodyContent,string recipients)
{
// Get current user photo
Stream photoStream = await GetCurrentUserPhotoStreamAsync();
// If the user doesn't have a photo, or if the user account is MSA, we use a default photo
if (photoStream == null)
{
var assembly = typeof(MailHelper).GetTypeInfo().Assembly;
photoStream = assembly.GetManifestResourceStream("XamarinConnect.test.jpg");
}
MemoryStream photoStreamMS = new MemoryStream();
// Copy stream to MemoryStream object so that it can be converted to byte array.
photoStream.CopyTo(photoStreamMS);
DriveItem photoFile = await UploadFileToOneDriveAsync(photoStreamMS.ToArray());
MessageAttachmentsCollectionPage attachments = new MessageAttachmentsCollectionPage();
attachments.Add(new FileAttachment
{
ODataType = "#microsoft.graph.fileAttachment",
ContentBytes = photoStreamMS.ToArray(),
ContentType = "image/png",
Name = "me.png"
});
// Get the sharing link and insert it into the message body.
Permission sharingLink = await GetSharingLinkAsync(photoFile.Id);
string bodyContentWithSharingLink = String.Format(bodyContent, sharingLink.Link.WebUrl);
// Prepare the recipient list
string[] splitter = { ";" };
var splitRecipientsString = recipients.Split(splitter, StringSplitOptions.RemoveEmptyEntries);
List<Recipient> recipientList = new List<Recipient>();
foreach (string recipient in splitRecipientsString)
{
recipientList.Add(new Recipient { EmailAddress = new EmailAddress { Address = recipient.Trim() } });
}
try
{
var graphClient = AuthenticationHelper.GetAuthenticatedClient();
var email = new Message
{
Body = new ItemBody
{
Content = bodyContentWithSharingLink,
ContentType = BodyType.Html,
},
Subject = subject,
ToRecipients = recipientList,
Attachments = attachments
};
try
{
await graphClient.Me.SendMail(email, true).Request().PostAsync();
}
catch (ServiceException exception)
{
throw new Exception("We could not send the message: " + exception.Error == null ? "No error message returned." : exception.Error.Message);
}
}
catch (Exception e)
{
throw new Exception("We could not send the message: " + e.Message);
}
}
Step 9: Run the Application:
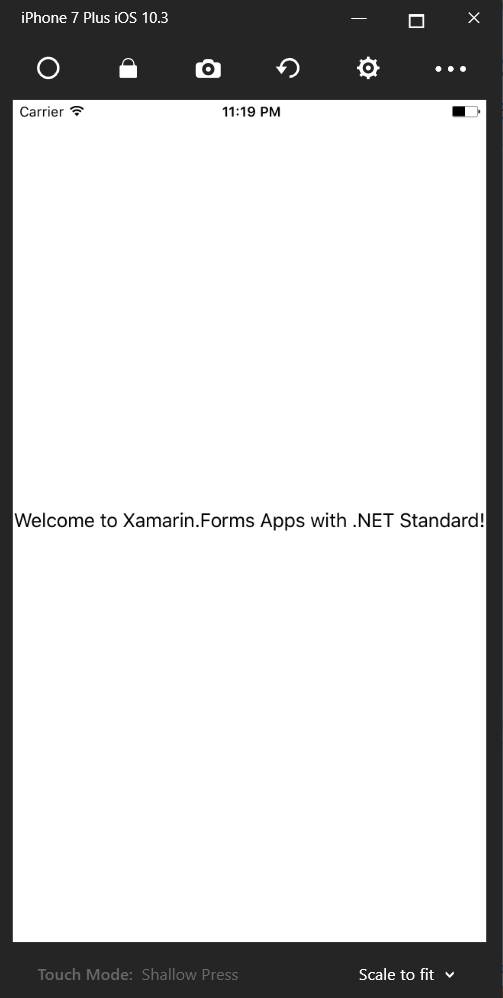
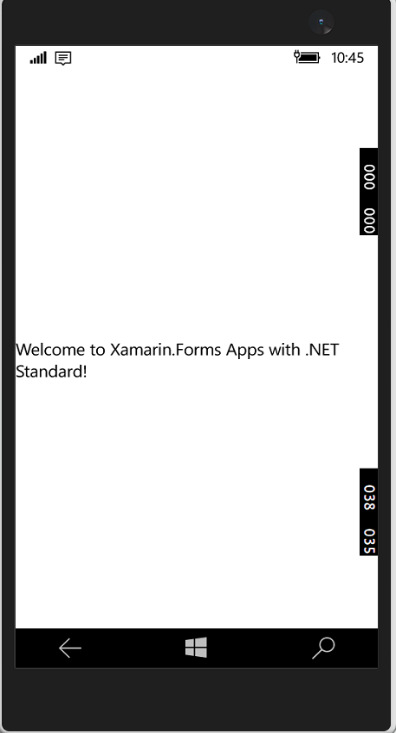
Select iOS,android and Windows project and run the application .
Click on Connect Button from iOS/Android /Windows
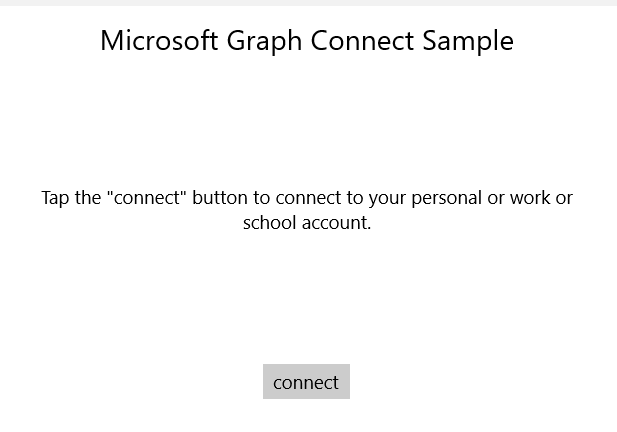
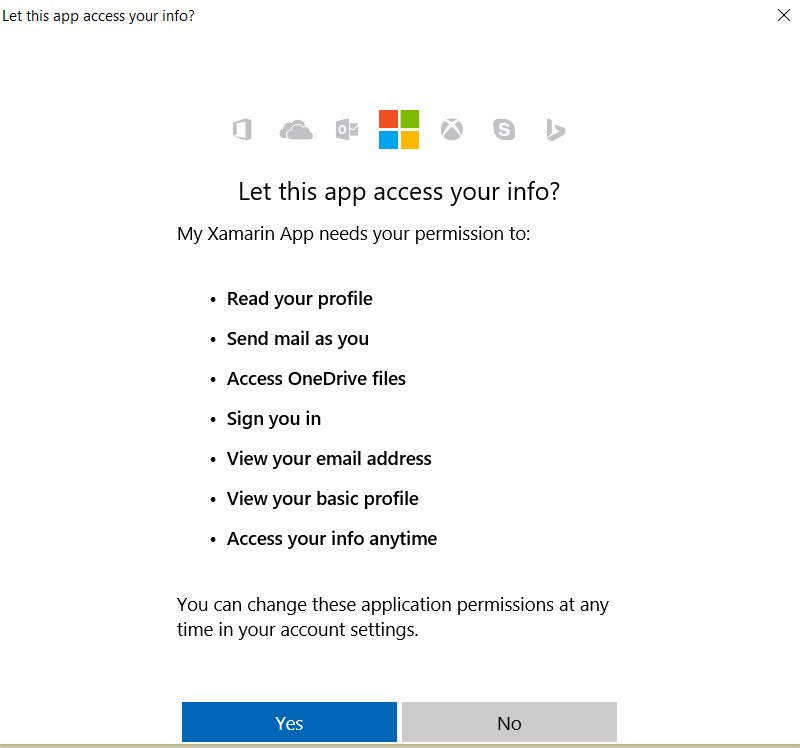
Sign in with your personal or work or school account and grant the requested permissions.

4. Click on Send mail button. When the mail is sent, a Success message is displayed.

This mail message includes the photo as an attachment and also provides a sharing link to the uploaded file in OneDrive. Check your mail from Inbox or Spam.

Download Source Code:
You can download the complete source code from MSDN sample.


 Summary:
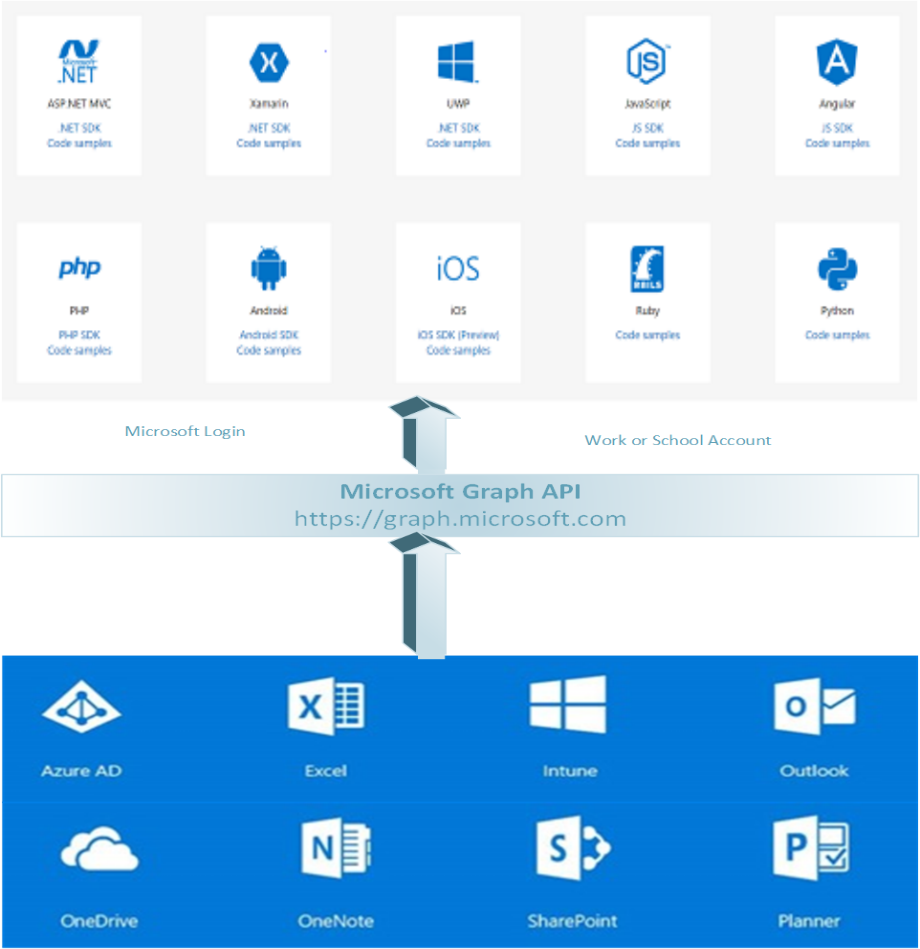


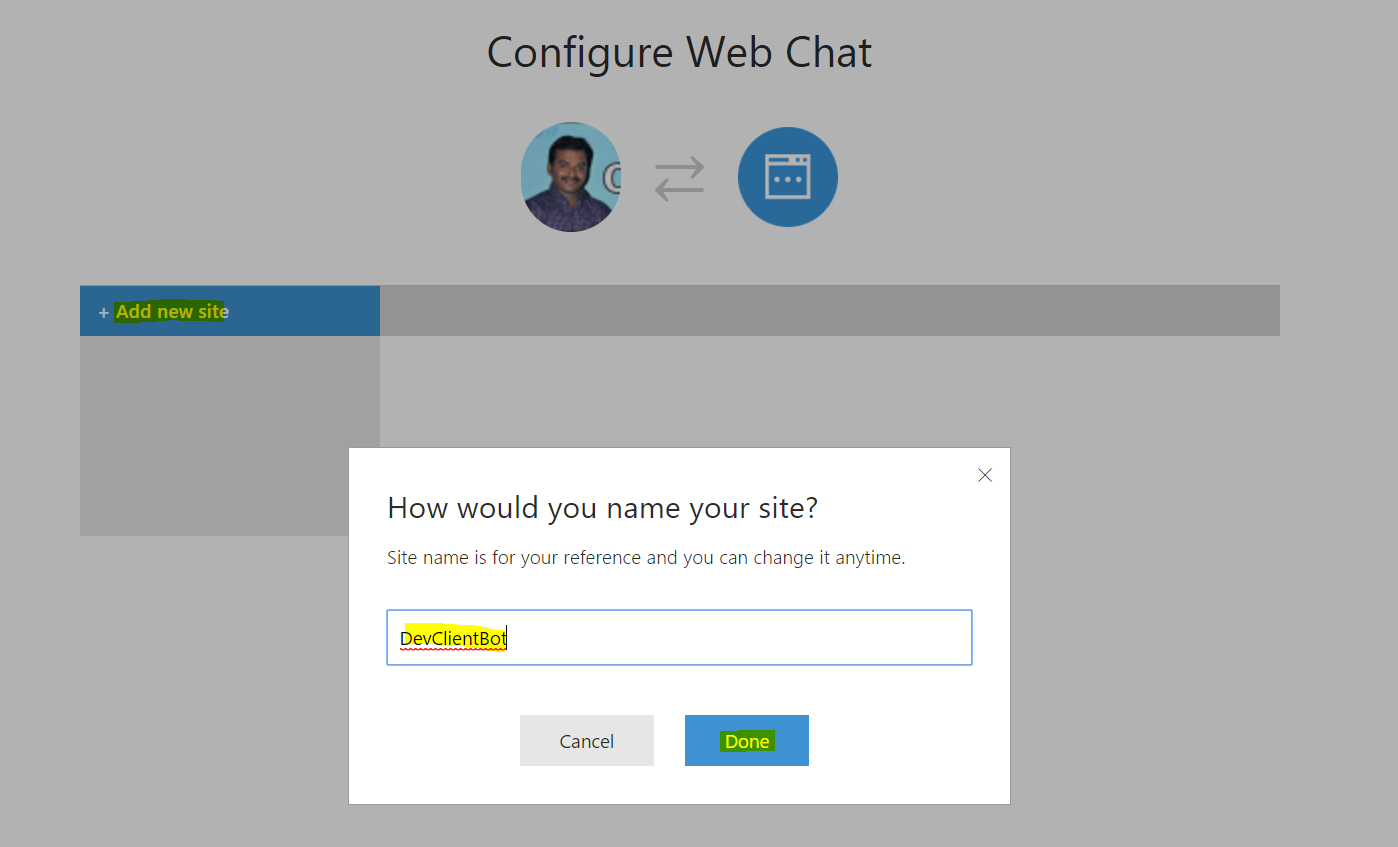
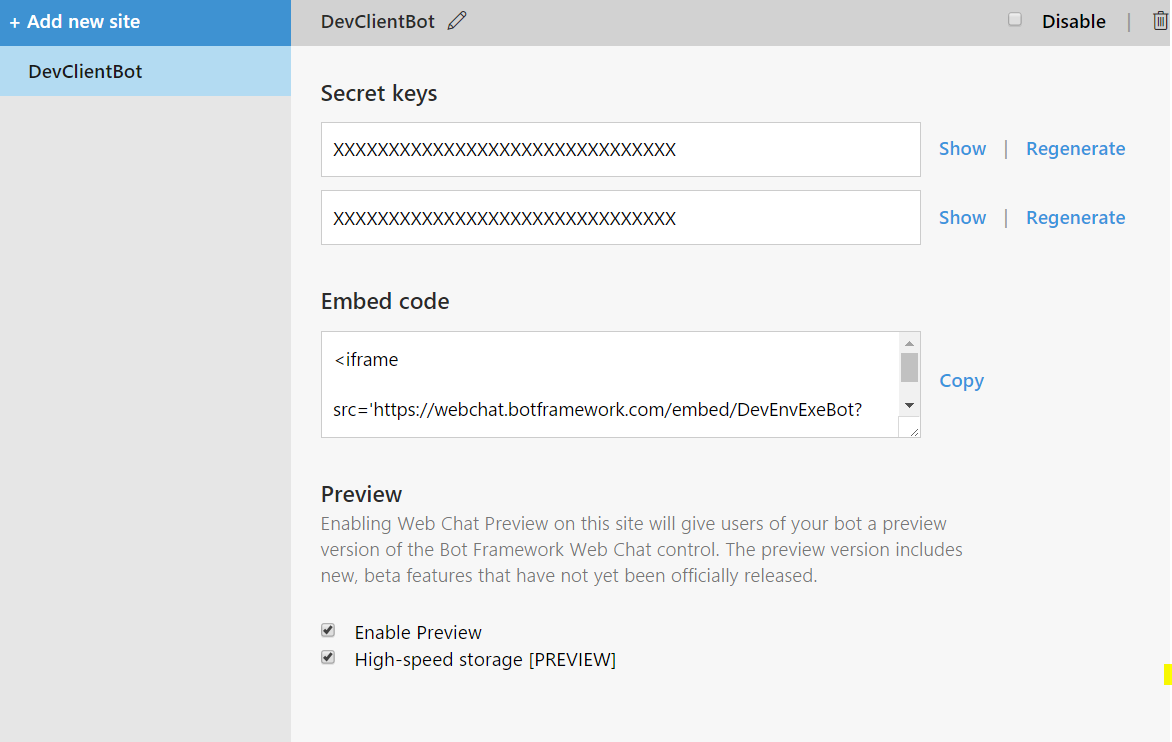
 Generate Web Chat Code:
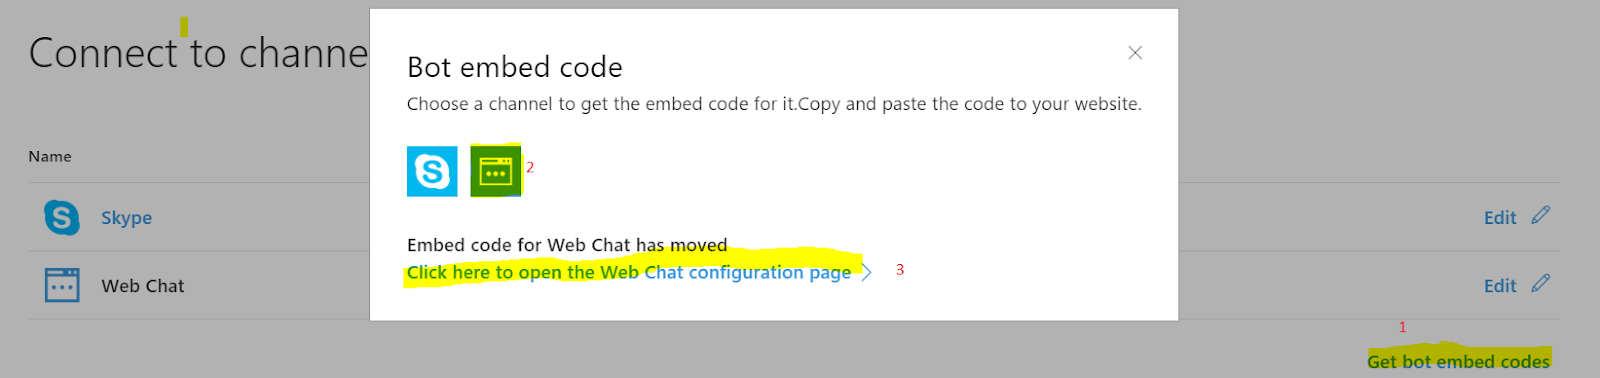

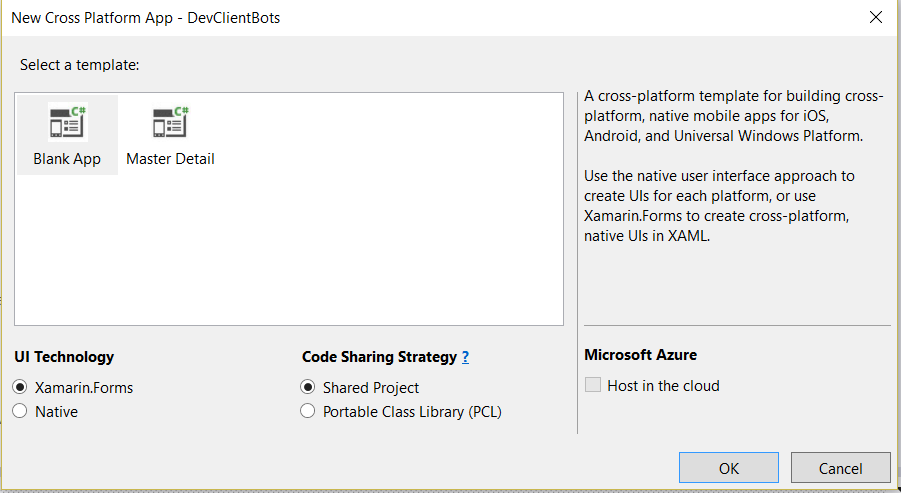
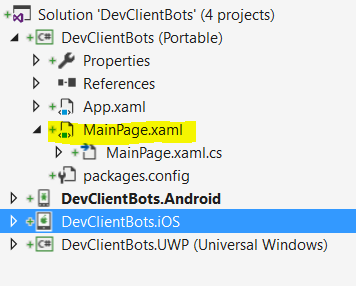


 Step 4: