Microsoft Cognitive services is set of cloud based intelligence APIs for building richer and smarter application development. Cognitive API will use for Search meta data from Photos and video and emotions, sentiment analysis and authenticating speakers via voice verification.
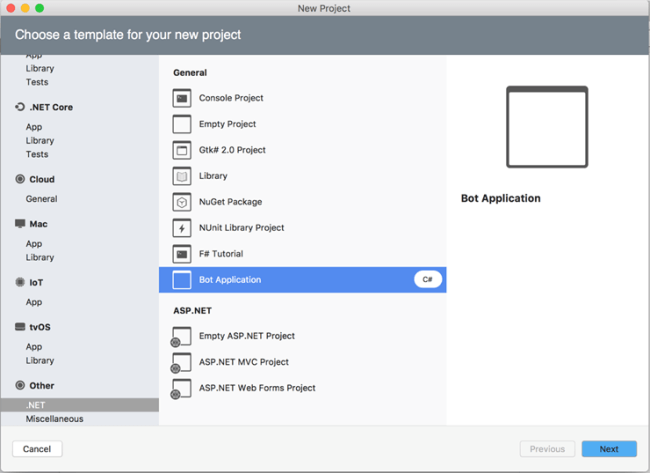
The Computer Vision API will help developers to identify the objects with access to advanced algorithms for processing images and returning image meta data information. In this article, you will learn about Computer Vision API and how to implement Compute Vision API into Bot application.
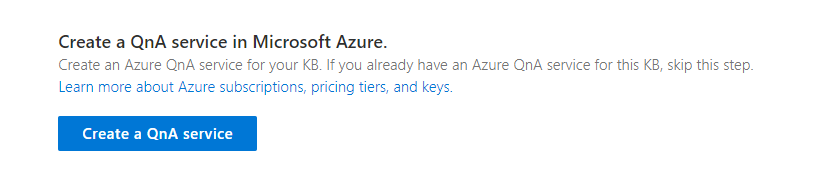
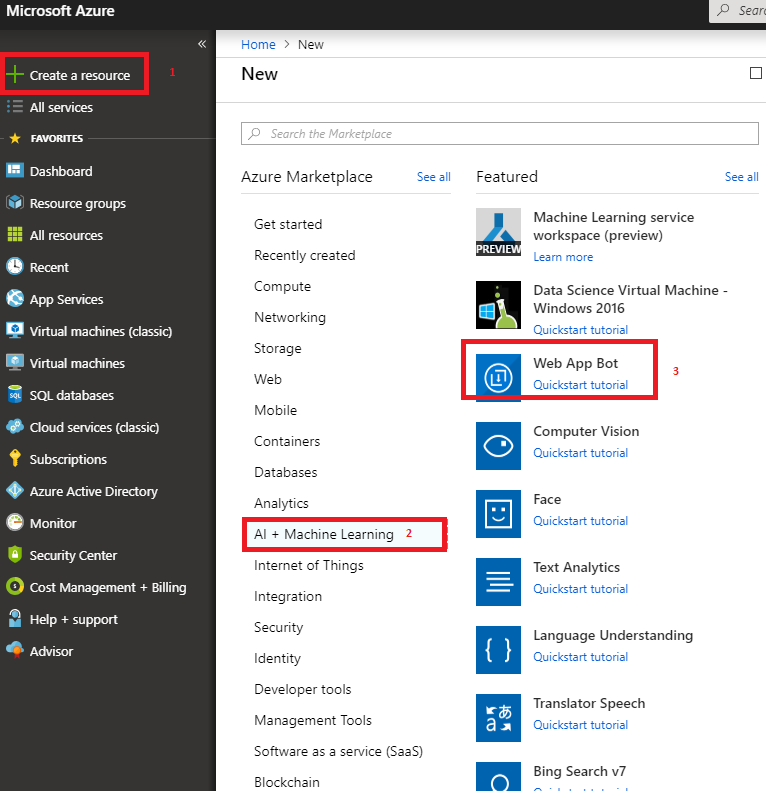
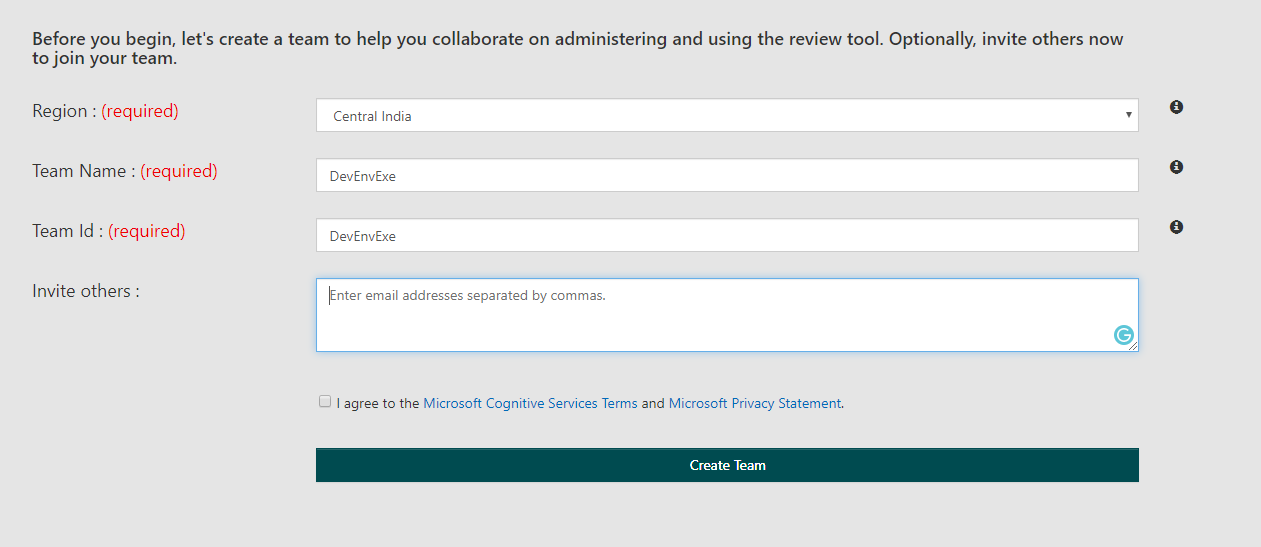
Click on “Get API Key “or Login with Azure login.
Login with Microsoft Account and Get API key
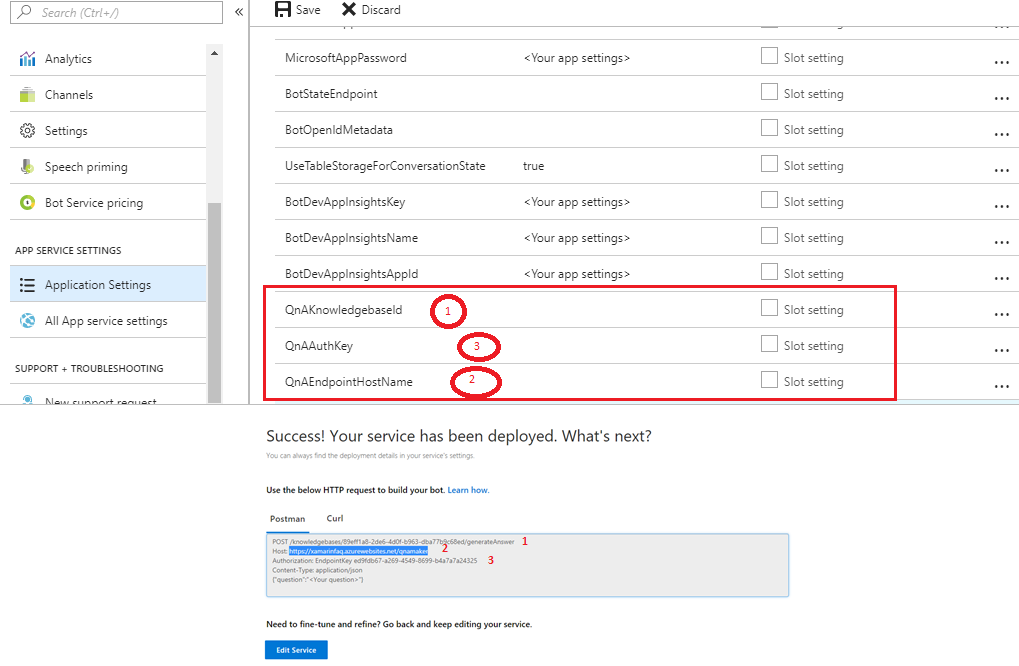
In the above helper class, replace vision API key and call the Analyze image client method for identify image meta data
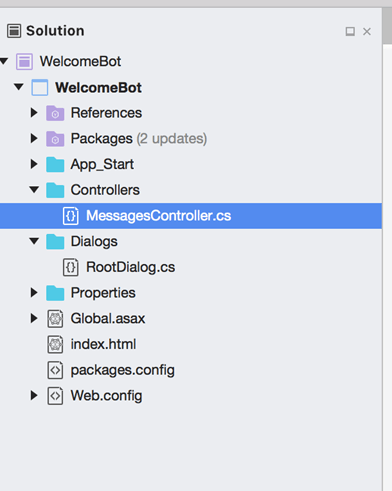
Messages Controller:
MessagesController is created by default and it is the main entry point of the application. it will call our helper service class which will handle the interaction with the Microsoft APIs. You can update “Post” method like below
using System;
using System.Diagnostics;
using System.IO;
using System.Linq;
using System.Net;
using System.Net.Http;
using System.Net.Http.Headers;
using System.Text.RegularExpressions;
using System.Threading.Tasks;
using System.Web.Http;
using BotObjectDetection.Service;
using Microsoft.Bot.Builder.Dialogs;
using Microsoft.Bot.Connector;
namespace BotObjectDetection
{
[BotAuthentication]
public class MessagesController : ApiController
{
private readonly ICaptionService captionService = new VisionService();
/// <summary>
/// POST: api/Messages
/// Receive a message from a user and reply to it
/// </summary>
public async Task<HttpResponseMessage> Post([FromBody]Activity activity)
{
if (activity.Type == ActivityTypes.Message)
{
//await Conversation.SendAsync(activity, () => new Dialogs.RootDialog());
var connector = new ConnectorClient(new Uri(activity.ServiceUrl));
string message;
try
{
message = await this.GetCaptionAsync(activity, connector);
}
catch (Exception)
{
message = "I am object Detection Bot , You can Upload or share Image Url ";
}
Activity reply = activity.CreateReply(message);
await connector.Conversations.ReplyToActivityAsync(reply);
}
else
{
HandleSystemMessage(activity);
}
var response = Request.CreateResponse(HttpStatusCode.OK);
return response;
}
private Activity HandleSystemMessage(Activity message)
{
if (message.Type == ActivityTypes.DeleteUserData)
{
// Implement user deletion here
// If we handle user deletion, return a real message
}
else if (message.Type == ActivityTypes.ConversationUpdate)
{
// Handle conversation state changes, like members being added and removed
// Use Activity.MembersAdded and Activity.MembersRemoved and Activity.Action for info
// Not available in all channels
}
else if (message.Type == ActivityTypes.ContactRelationUpdate)
{
// Handle add/remove from contact lists
// Activity.From + Activity.Action represent what happened
}
else if (message.Type == ActivityTypes.Typing)
{
// Handle knowing tha the user is typing
}
else if (message.Type == ActivityTypes.Ping)
{
}
return null;
}
private async Task<string> GetCaptionAsync(Activity activity, ConnectorClient connector)
{
var imageAttachment = activity.Attachments?.FirstOrDefault(a => a.ContentType.Contains("image"));
if (imageAttachment != null)
{
using (var stream = await GetImageStream(connector, imageAttachment))
{
return await this.captionService.GetCaptionAsync(stream);
}
}
string url;
if (TryParseAnchorTag(activity.Text, out url))
{
return await this.captionService.GetCaptionAsync(url);
}
if (Uri.IsWellFormedUriString(activity.Text, UriKind.Absolute))
{
return await this.captionService.GetCaptionAsync(activity.Text);
}
// If we reach here then the activity is neither an image attachment nor an image URL.
throw new ArgumentException("The activity doesn't contain a valid image attachment or an image URL.");
}
private static async Task<Stream> GetImageStream(ConnectorClient connector, Attachment imageAttachment)
{
using (var httpClient = new HttpClient())
{
var uri = new Uri(imageAttachment.ContentUrl);
return await httpClient.GetStreamAsync(uri);
}
}
private static bool TryParseAnchorTag(string text, out string url)
{
var regex = new Regex("^<a href=\"(?<href>[^\"]*)\">[^<]*</a>$", RegexOptions.IgnoreCase);
url = regex.Matches(text).OfType<Match>().Select(m => m.Groups["href"].Value).FirstOrDefault();
return url != null;
}
}
}
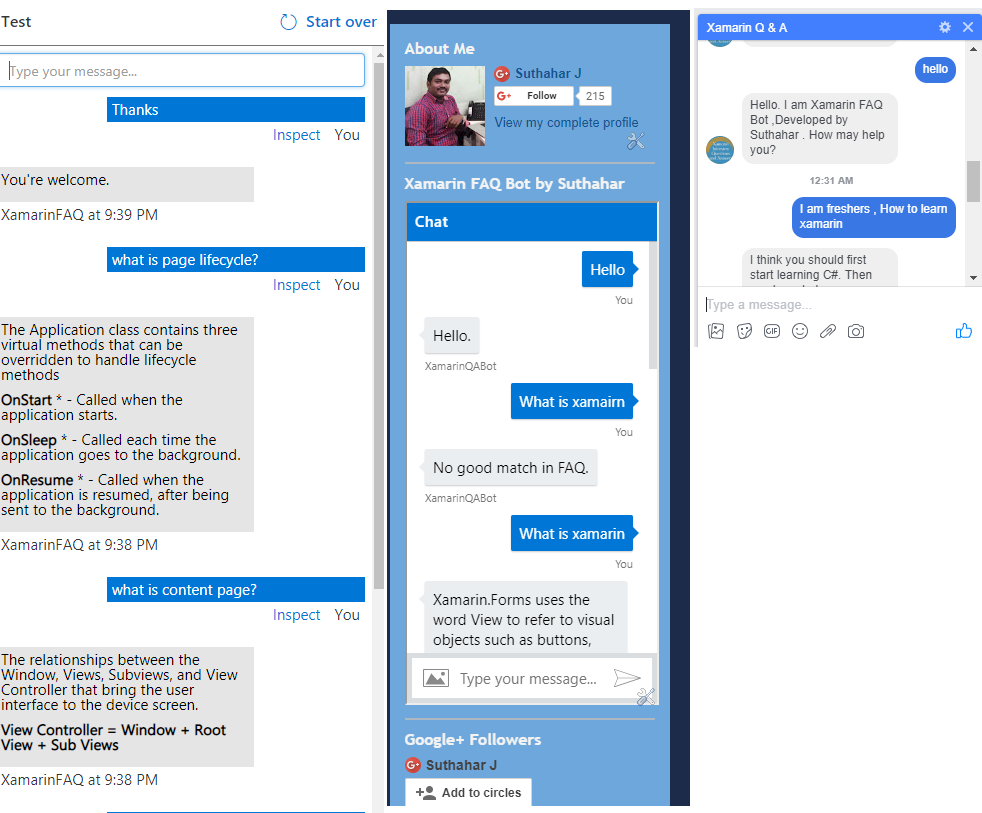
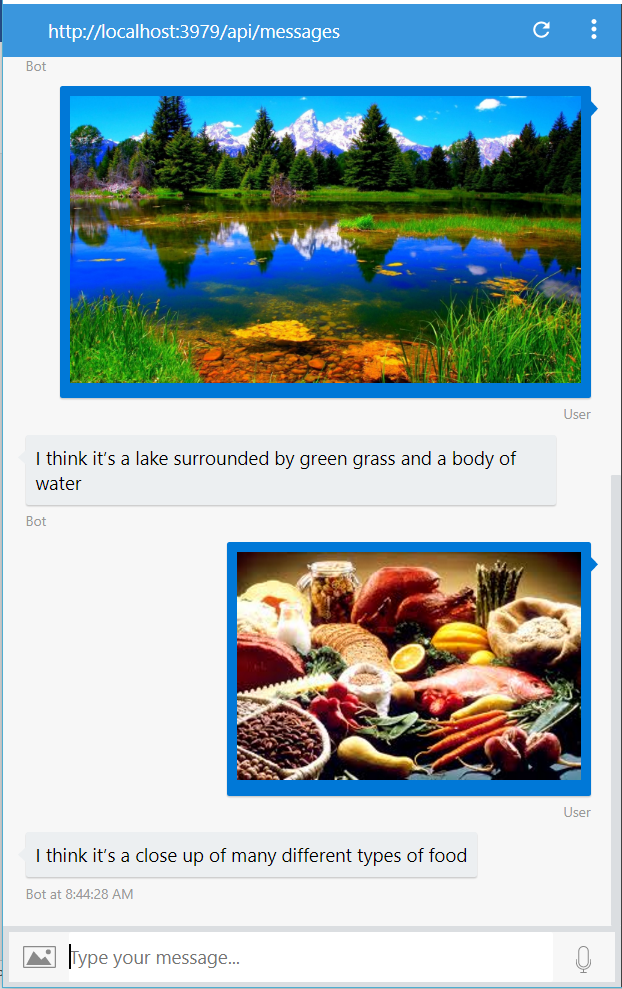
Run Bot Application
The emulator is a desktop application that lets us test and debug our bot on localhost. Now, you can click on "Run the application" in Visual studio and execute in the browser

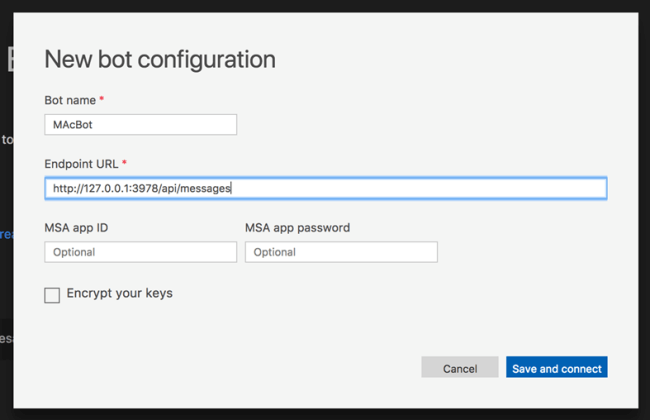
- Test Application on Bot Emulator
- You can follow the below steps to test your bot application.
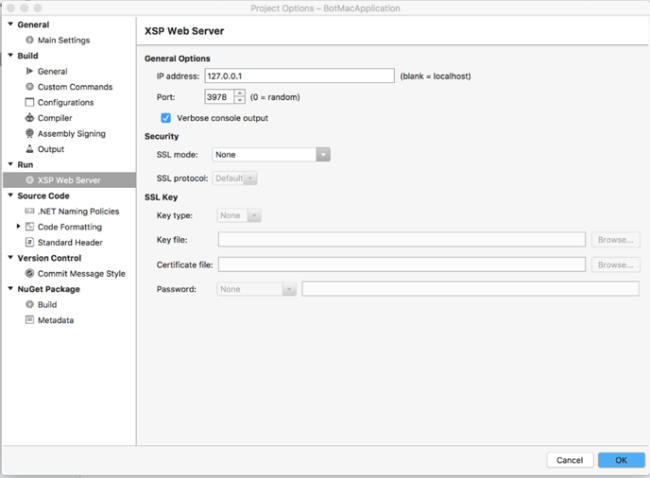
- Open Bot Emulator.
- Copy the above localhost url and paste it in emulator e.g. - http://localHost:3979
- You can append the /api/messages in the above url; e.g. - http://localHost:3979/api/messages.
- You won't need to specify Microsoft App ID and Microsoft App Password for localhost testing, so click on "Connect".

Related Article:
I have explained about Bot framework Installation, deployment and implementation in the below article
Summary
In this article, you learned how to create an Intelligent Image Object Detection Bot using Microsoft Cognitive Computer Vision API. If you have any questions/feedback/ issues, please write in the comment box.